What's a Raspberry Pi?
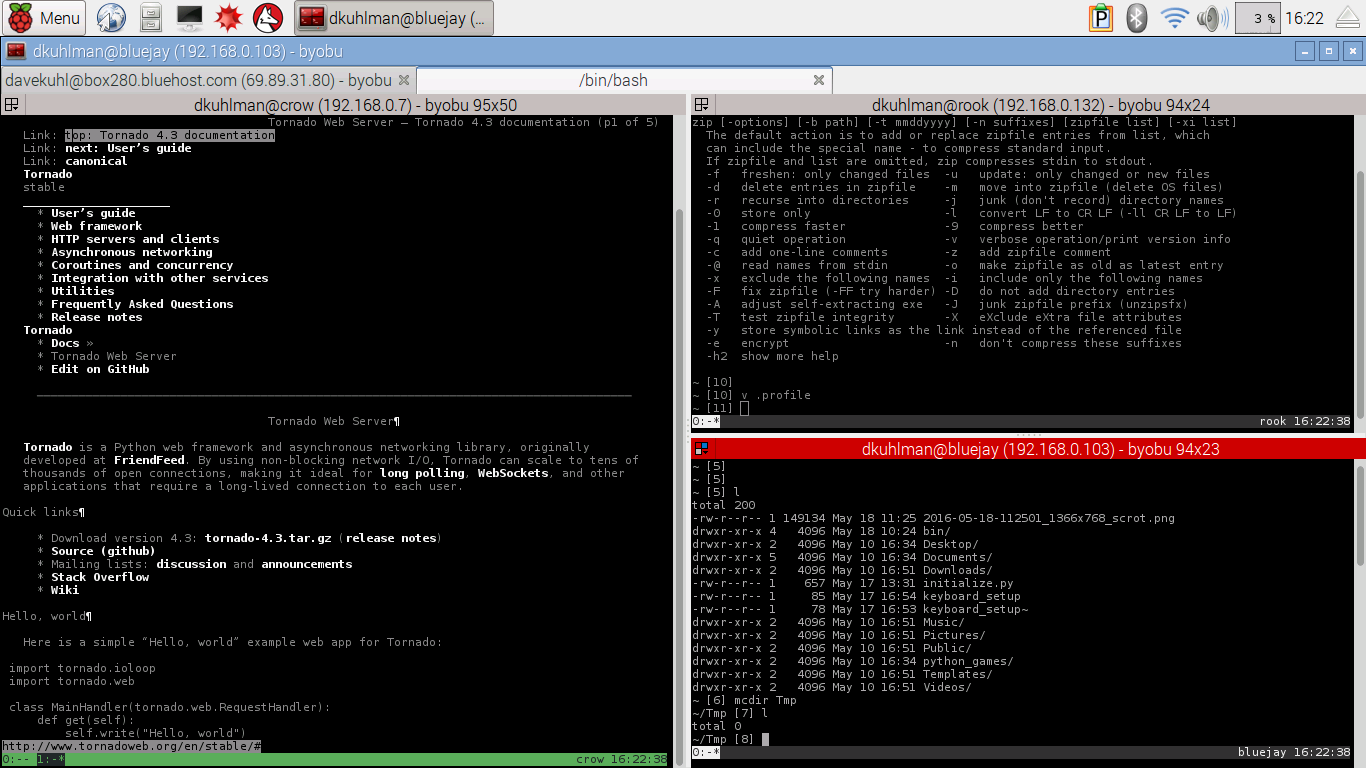
A Raspberry Pi is a single board computer measuring about 2.5 by 3.5 inches. It's suitable for embedding in other devices and for running networked, communicating applications. It's also works well as a terminal connecting to other machines via SSH, which is how I'm currently using it. In fact, my usual set-up is a Terminator terminal emulator with two tabs divided in 3 panes each for a total of 6 windows. In those windows, I open:
- Access to a desk-top machine via SSH
- Access to another desk-top machine via SSH
- Access to yet another desk-top machine via SSH
- Access to a 2nd Raspberry Pi via SSH
- Access to my Internet account on a remoter serve hosted by BlueHost via SSH
- And, access to the local machine itself
Here is a screen shot that shows one of those tabs with its 3 windows: http://www.davekuhlman.org/images/screenshot_2016-05-18_16:22:39.png
Installing Raspian Debian GNU/Linux
There are several, alternative ways to do this:
- Use Noob
- Use a Raspian image
- Use BerryBoot -- BerryBoot enables you to create a micro SD card which, when booted from in your Raspberry Pi enables you to install Raspian and other operating systems as well. The advantages are that you get your choice of operating systems and you can create a micro SD card that enables you to boot into one of several operating systems.
I've used BerryBoot to install Raspian (and OpenELEC, too) on several Raspberry Pi's. I've had good results with that. But, at one point a serious problem occurred, although it has likely been fixed by now. So, I decided to try installing Raspian using a image from
Installing a Raspian image
Instructions and the image download are available here: https://www.raspberrypi.org/documentation/installation/installing-images/README.md
After you have downloaded the image, copy it to your micro-SD card. The instructions at the above address are good. My other machines are Ubuntu GNU/Linux boxes, so I followed these instructions: https://www.raspberrypi.org/documentation/installation/installing-images/linux.md.
Set-up -- Some details about my experience
So, now I had a working Raspian GNU/Linux machine and I'll looking at the LXED desktop.
Note that there are other desktops available on Raspian, including Openbox, Fluxbox, and JWM. You can learn more on how to set them up here: http://www.bristolwatch.com/rpi/xinitrc.htm.
Set-up: some first steps
So, here are a few of my first steps:
Get connected to my wireless network -- I use a wireless connection. For that, I have a USB wireless adapter plugged into my Raspberry Pi. On the LXDE desktop, there is a network icon in the panel at the top right of my screen. I clicked on it, waited a few seconds, then selected the network I wanted to connect to, and since it's secured, typed in its password. Now I'm connected, and I can ping machines in my local network (LAN) and the outside world, visit Web sites in my browser, etc.
For more information about Raspberry WiFi setup, see: https://www.raspberrypi.org/documentation/configuration/wireless/README.md
There are actually two wireless networks in my house: the main one that is connected to my modem and the other that is positioned in the middle of our house and configured as a repeater so that we get a better signal at the Roku device connected to our TV at the other end of the house. Both of these routers run DD-WRT: "DD-WRT is a Linux based alternative OpenSource firmware suitable for a great variety of WLAN routers and embedded systems." See: http://dd-wrt.com/site/.
Use raspi-config to set a few things:
- Expanded the file system -- Not sure what effect this has.
- Changed my password -- The default user is "pi" and the default password is "raspberry".
- Changed the host name (under Advanced Options)
- Enabled SSH server (under Advanced Options).
- Change the keyboard from a British layout to a U.S. one (under Internationalization)
Upgrade Raspian/Linux:
$ sudo aptitude update
$ sudo aptitude full-upgrade
Install a few software packages that I use:
$ sudo aptitude install vim tmux byobu
You can always install other packages later of course.
Also note that there is a visual tool for installing packages, if you prefer that over aptitude or apt-get. I found it under:
Desktop Menu --> Preferences --> Add / Remove Software
Change the name and the home directory of the default user -- I typically use "dkuhlman" as my user name. But, the default user name is pi. Here is how I changed that:
In raspi-config, change the "Boot Options" to "Console".
Re-boot.
You should now be looking at a text console. Log on if necessary. Then, run the following:
$ exec sudo -s
$ cd /
$ sudo usermod -l new_user_name -d /home/new_user_name -m pi
If your results are the same as mine, you will get a message to the effect that the directory is in use by process number nnn. So, you will need to kill that process:
$ kill nnn
And, substitute the process number reported in the error message.
After the usermod command succeeds, check to ensure that the home directory was moved:
$ ls /home
You should now be able to log on with your new user name and the same password (the one formerly used by user pi):
$ sudo shutdown -r now
Audio and HDMI -- My Raspberry Pi is connected to a TV set via HDMI. (This is the Raspberry Pi that is connected to my keyboard and mouse.) I was not getting any sound and I wanted to listen to Emmy Lou Harris singing "Two more bottles of wine" at http://youtube.com.
The first thing to try is to use raspi-config -- Under "Advanced Options", I set Audio to HDMI. But for me, that seemed to have no effect.
So, I uncommented this line in /boot/config.txt:
# uncomment to force a HDMI mode rather than DVI. This can make audio work in
# DMT (computer monitor) modes
hdmi_drive=2
You can find more information about this kind of configuration here: https://www.raspberrypi.org/documentation/configuration/audio-config.md
Configuration for my own work
The following steps are ones that I follow because I've installed Raspian Linux several times, and so, I have some handy stuff that I bring along with me each time:
Create a mount point so that I can mount and access the file system of another machine on my (wireless) network:
$ sudo mkdir /crow-a1
Mount the remote file system:
$ sudo mount -t nfs -v crow:/home/dkuhlman/a1 /crow-a1
Note that you may need to install the NFS server software on the remote machine in order to do the above:
$ sudo aptitude install nfs-kernel-server
At least that's what I think I did. It was quite a while ago that I did that.
And, you will want to add a line to /etc/exports on the remote machine. The one I added looked like this:
/home/dkuhlman/a1 192.168.0.1/24(rw,no_root_squash,async)
Now you should be able to use that shared directory to transfer files to and from the Raspberry Pi. For example, from my remote machine to the Raspberry Pi, I can do the following on the remote machine:
$ zip some-stuff.zip stuff/*
$ cp some-stuff.zip ~/a1
And, then on the Raspberry Pi, I'll do:
$ cp /crow-a1/some-stuff.zip .
$ unzip -l some-stuff.zip        # just checking
$ unzip some-stuff.zip           # really unroll the file's contents
For example, I have a bin directory under my home directory that contains utilities that I've implemented and collected over time. I can archive that bin directory, then unroll it on the Raspberry Pi. If your $HOME/bin is not already on your path, you can add that to your .profile, for example:
export PATH=$HOME/bin:$PATH
See the following for more on where to add such things: http://superuser.com/questions/183870/difference-between-bashrc-and-bash-profile/183980#183980
Access to remote machines
I set myself up for access to machines on my wireless and wired network and to other remote machines as well.
FTP - In my home directory create a file named .netrc. Add something like the following:
machine ftp.my_remote_machine.org
login my_remote_login_name
password my_remote_password
And, lftp is a really nice client for ftp, so I do:
$ sudo aptitude install lftp
I learned that in order to use lftp to access my remote account, I needed to add the following to ~/.lftp/rc (but your mileage may vary on this one):
set ftp:ssl-allow no
SSH -- For this you really should read some instructions on the use of ssh-keygen. The following could be helpful: https://help.github.com/articles/generating-an-ssh-key/
And, here is what I did:
Generated a key -- On the machine from which I will be connecting to a remote machine (i.e. on the machine on which I'll run ssh) do this:
$ ssh-keygen -t rsa -C "Access from machineA"
Copied the generated key to the remote machine -- (1) Copy the newly generated $HOME/.ssh/id_rsa.pub to the remote machine. (2) Add its contents to $HOME/.ssh/authorized_keys on the remote machine.
If you performed similar steps, you should now be able to access your account on the remote machine and you should not have to enter a password. Here is an example of how you might access a remote machine:
$ ssh dkuhlman@crow.local